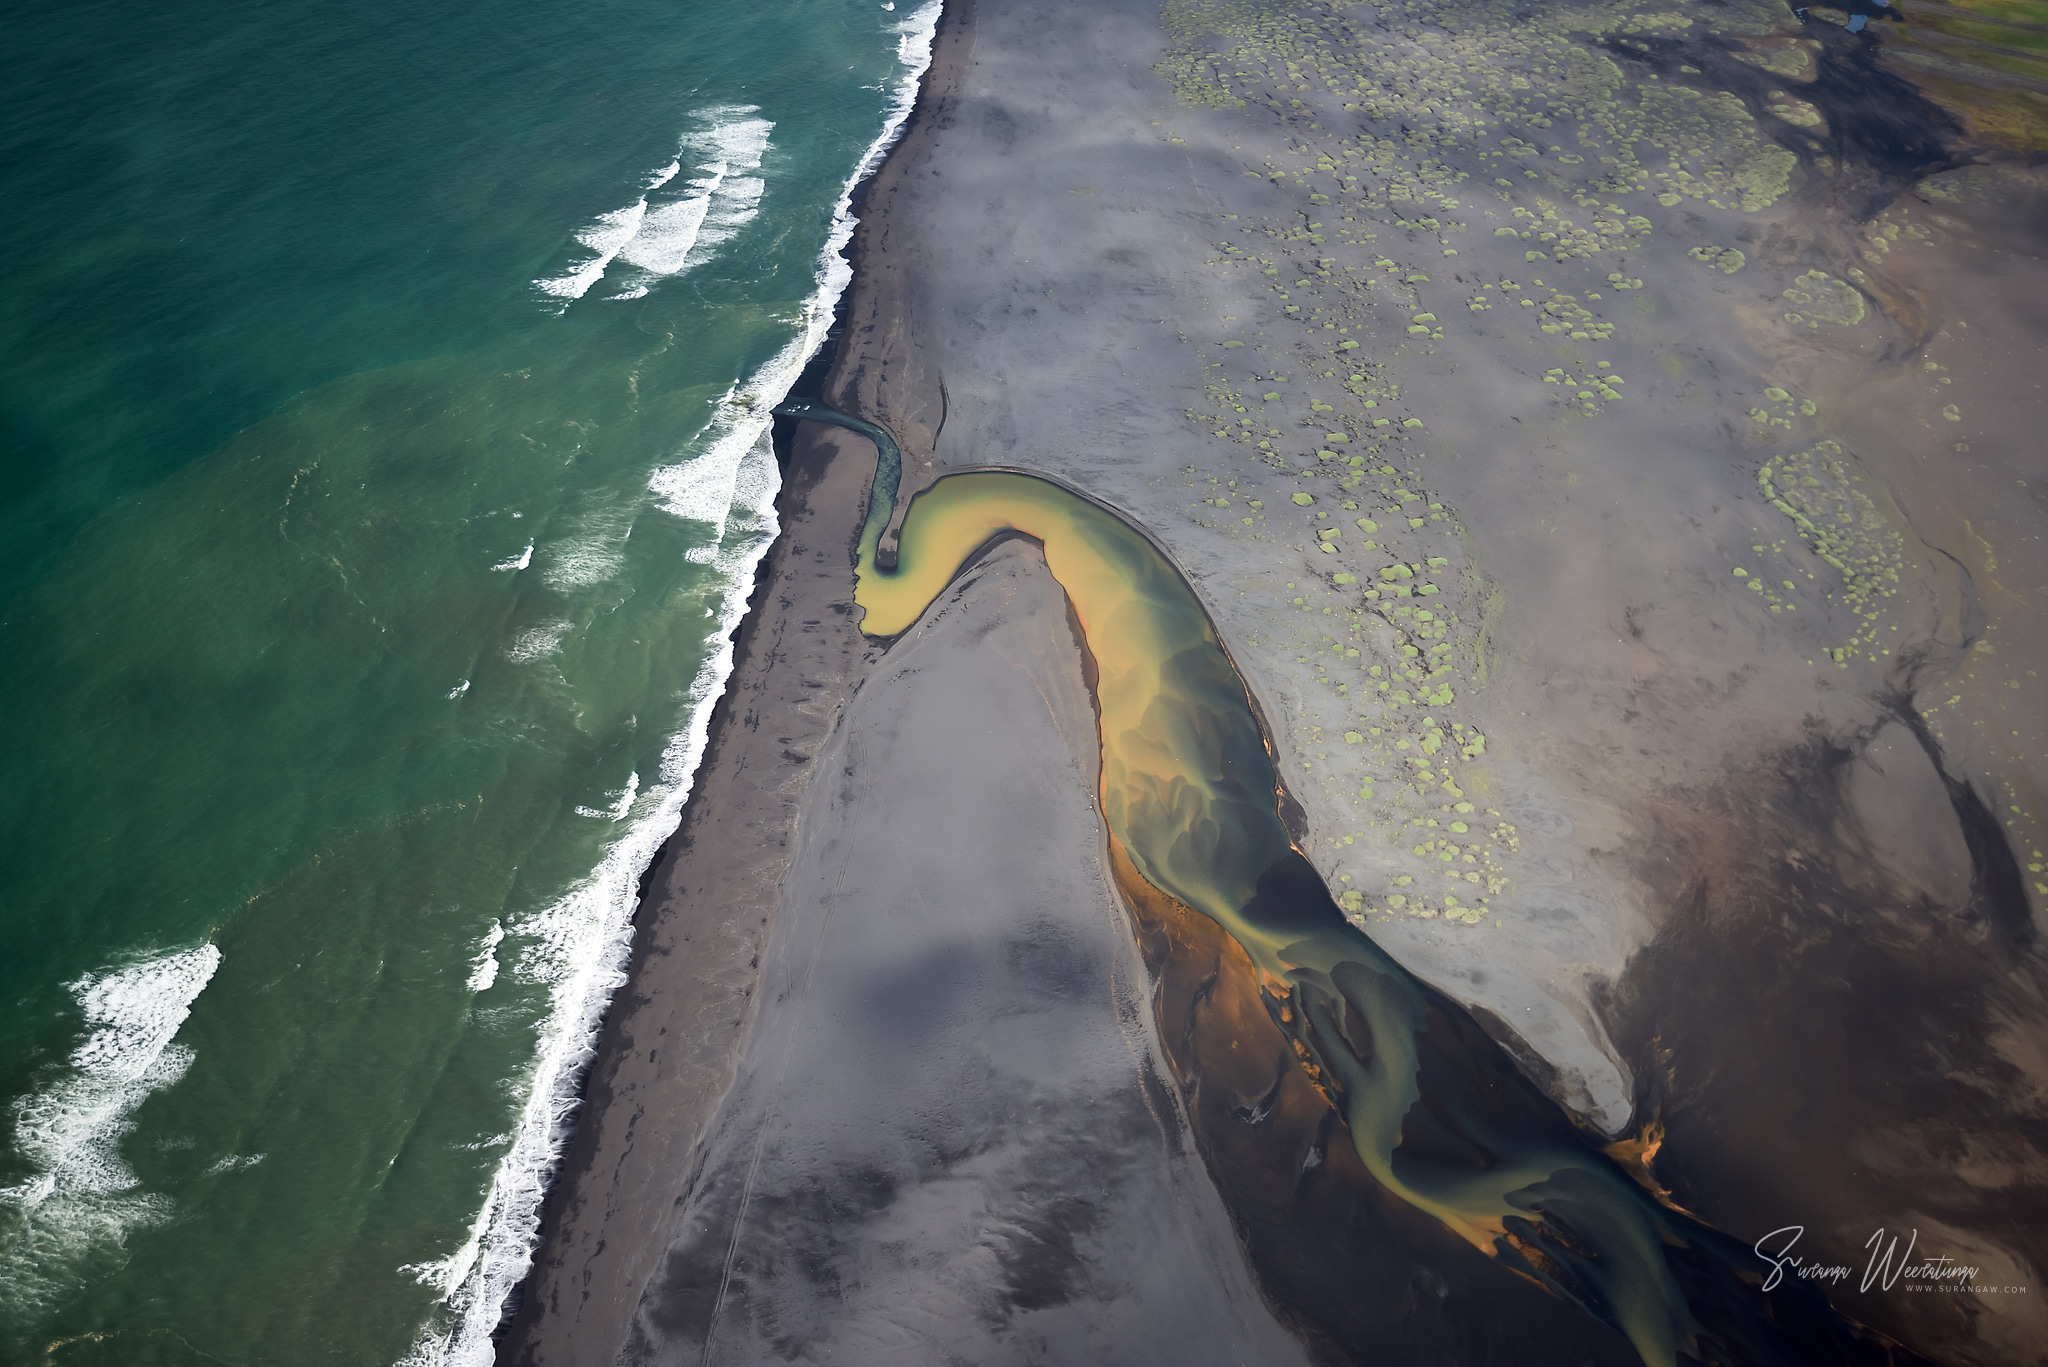
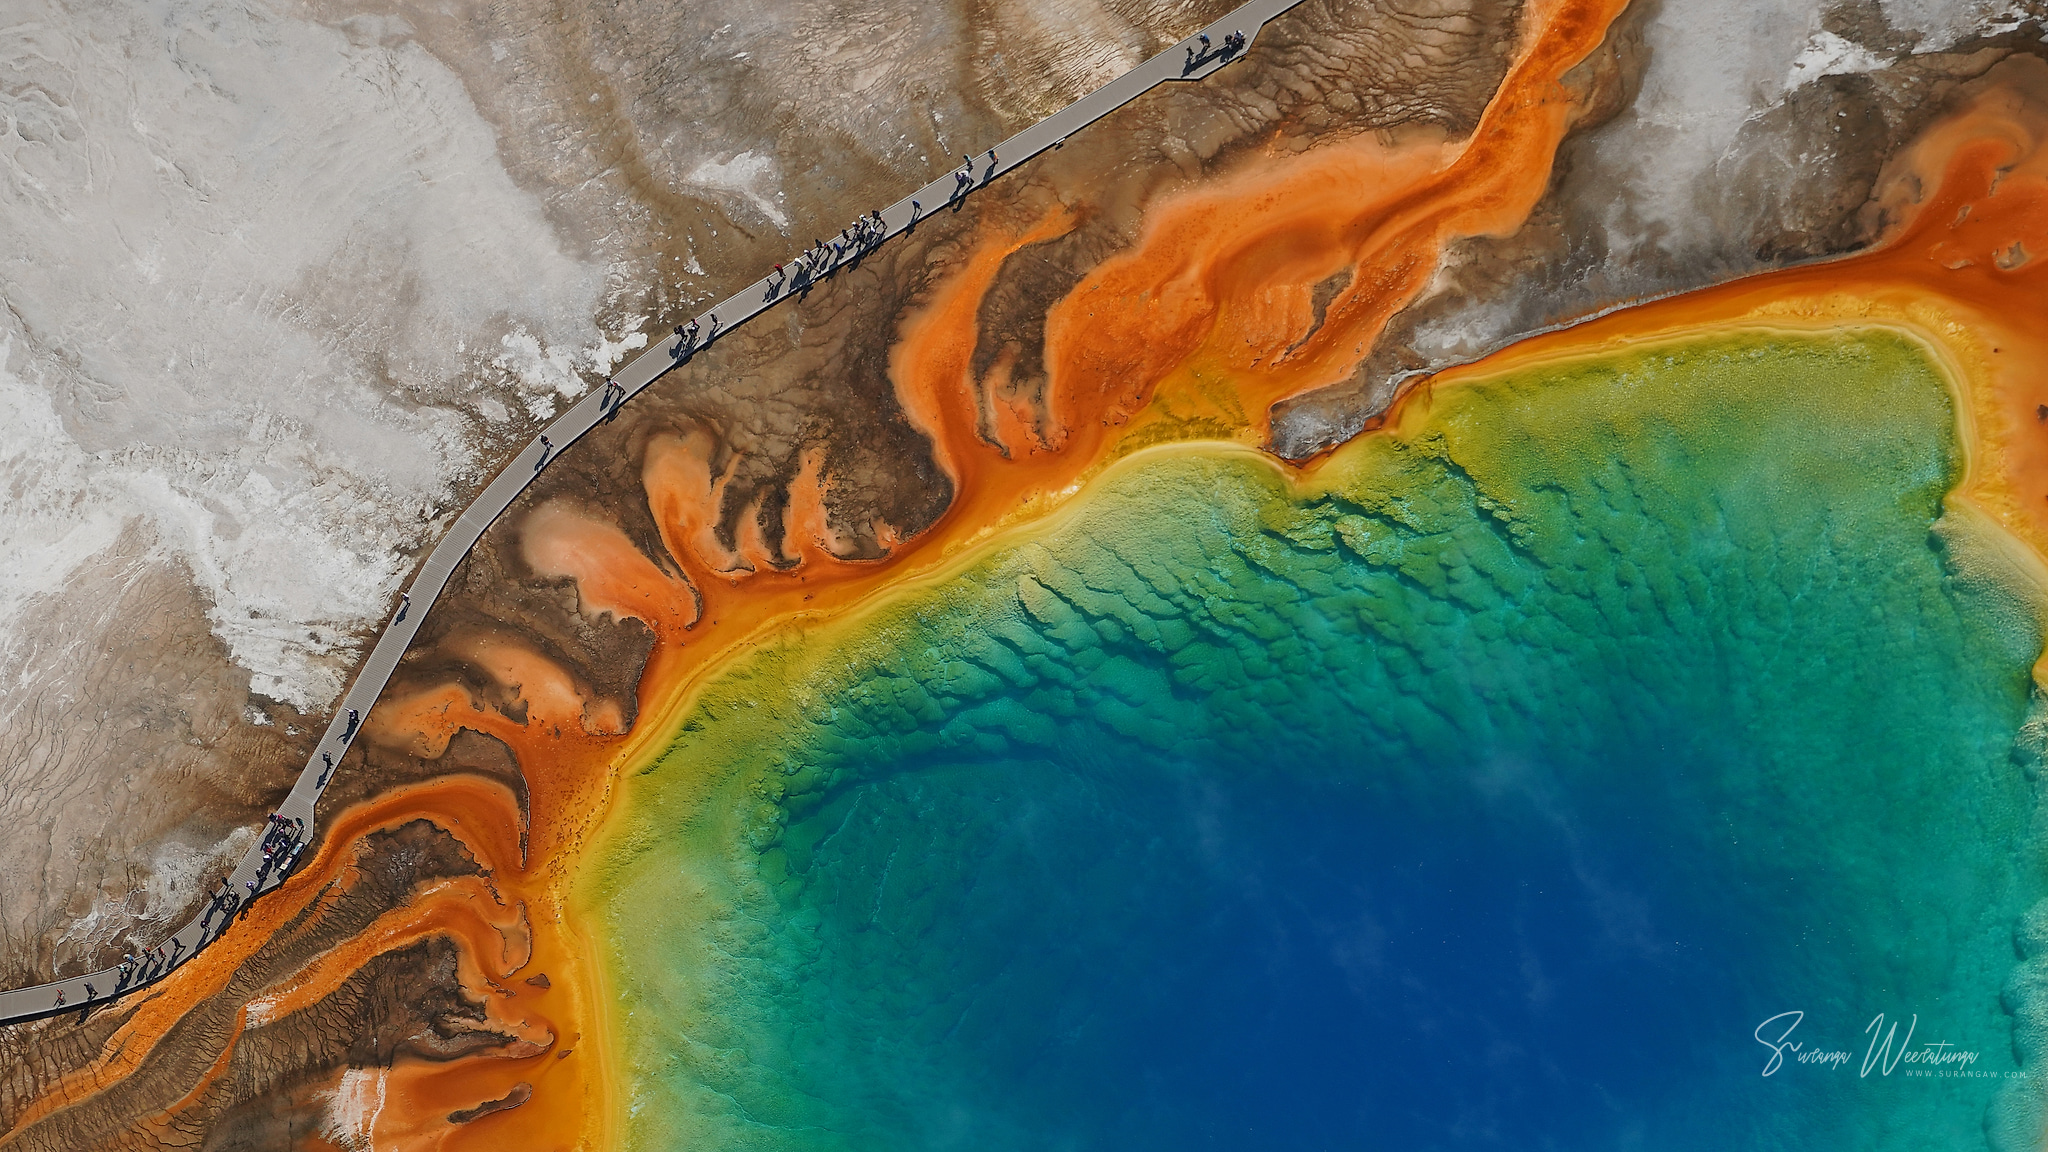
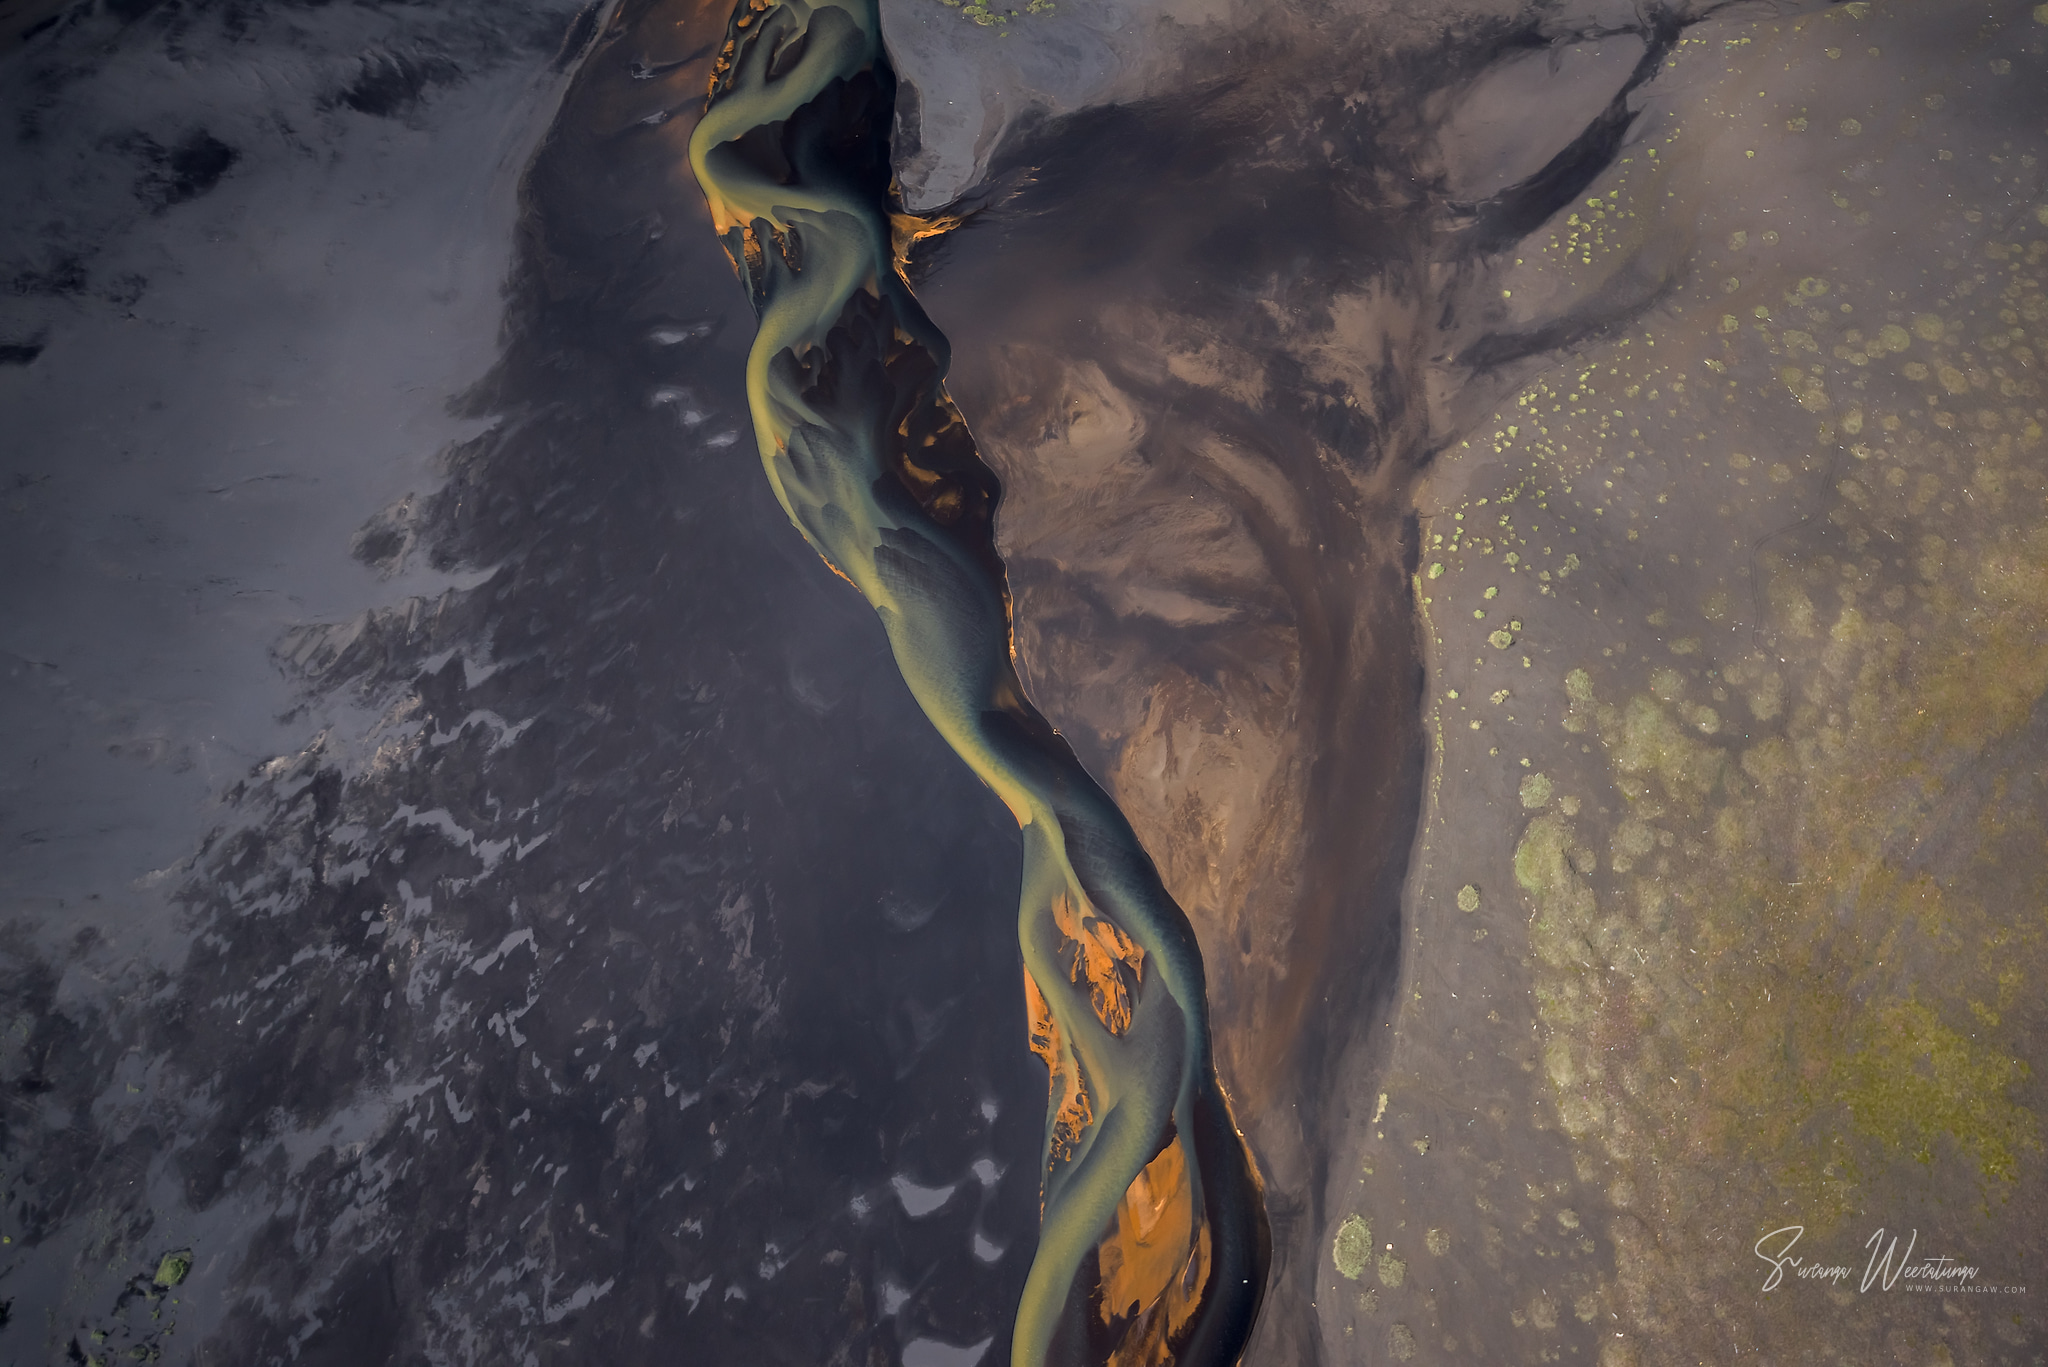
Some places only show their real shape from the air. A braided river becomes a ribbon of gold, a hot spring becomes an eye of colour, and a desert turns into a painting. These are some of my favourite photos from above, and what I’ve learned taking them.
Plane, helicopter or drone?
Small planes are often the cheapest way up and can cover long distances, but they can’t hover and you usually shoot through a window.
Helicopters cost more, but you can ask the pilot to circle and hold a position, and many flights let you shoot with the doors off.
Drones are great for low, close views, but they are banned in many national parks, including Yellowstone. Always check the rules before you fly.
Camera settings
Vibration and movement are your biggest enemies. Use a fast shutter speed of at least 1/1000 s, and don’t be afraid to raise the ISO to get it.
Set your focus to infinity or use continuous autofocus, and shoot in bursts. Out of every few frames, one will usually be the sharpest.
A 24–70mm zoom covers most of what you need, and a 70–200mm lets you pick out patterns.
Shooting through a window
If you can’t open the window, press the lens hood close to the glass (without touching it) to cut reflections, and wear dark clothes. Avoid shooting through scratched or curved parts of the window, and don’t use a polarizing filter through plastic windows: it creates rainbow patterns.
Look for patterns, not just places
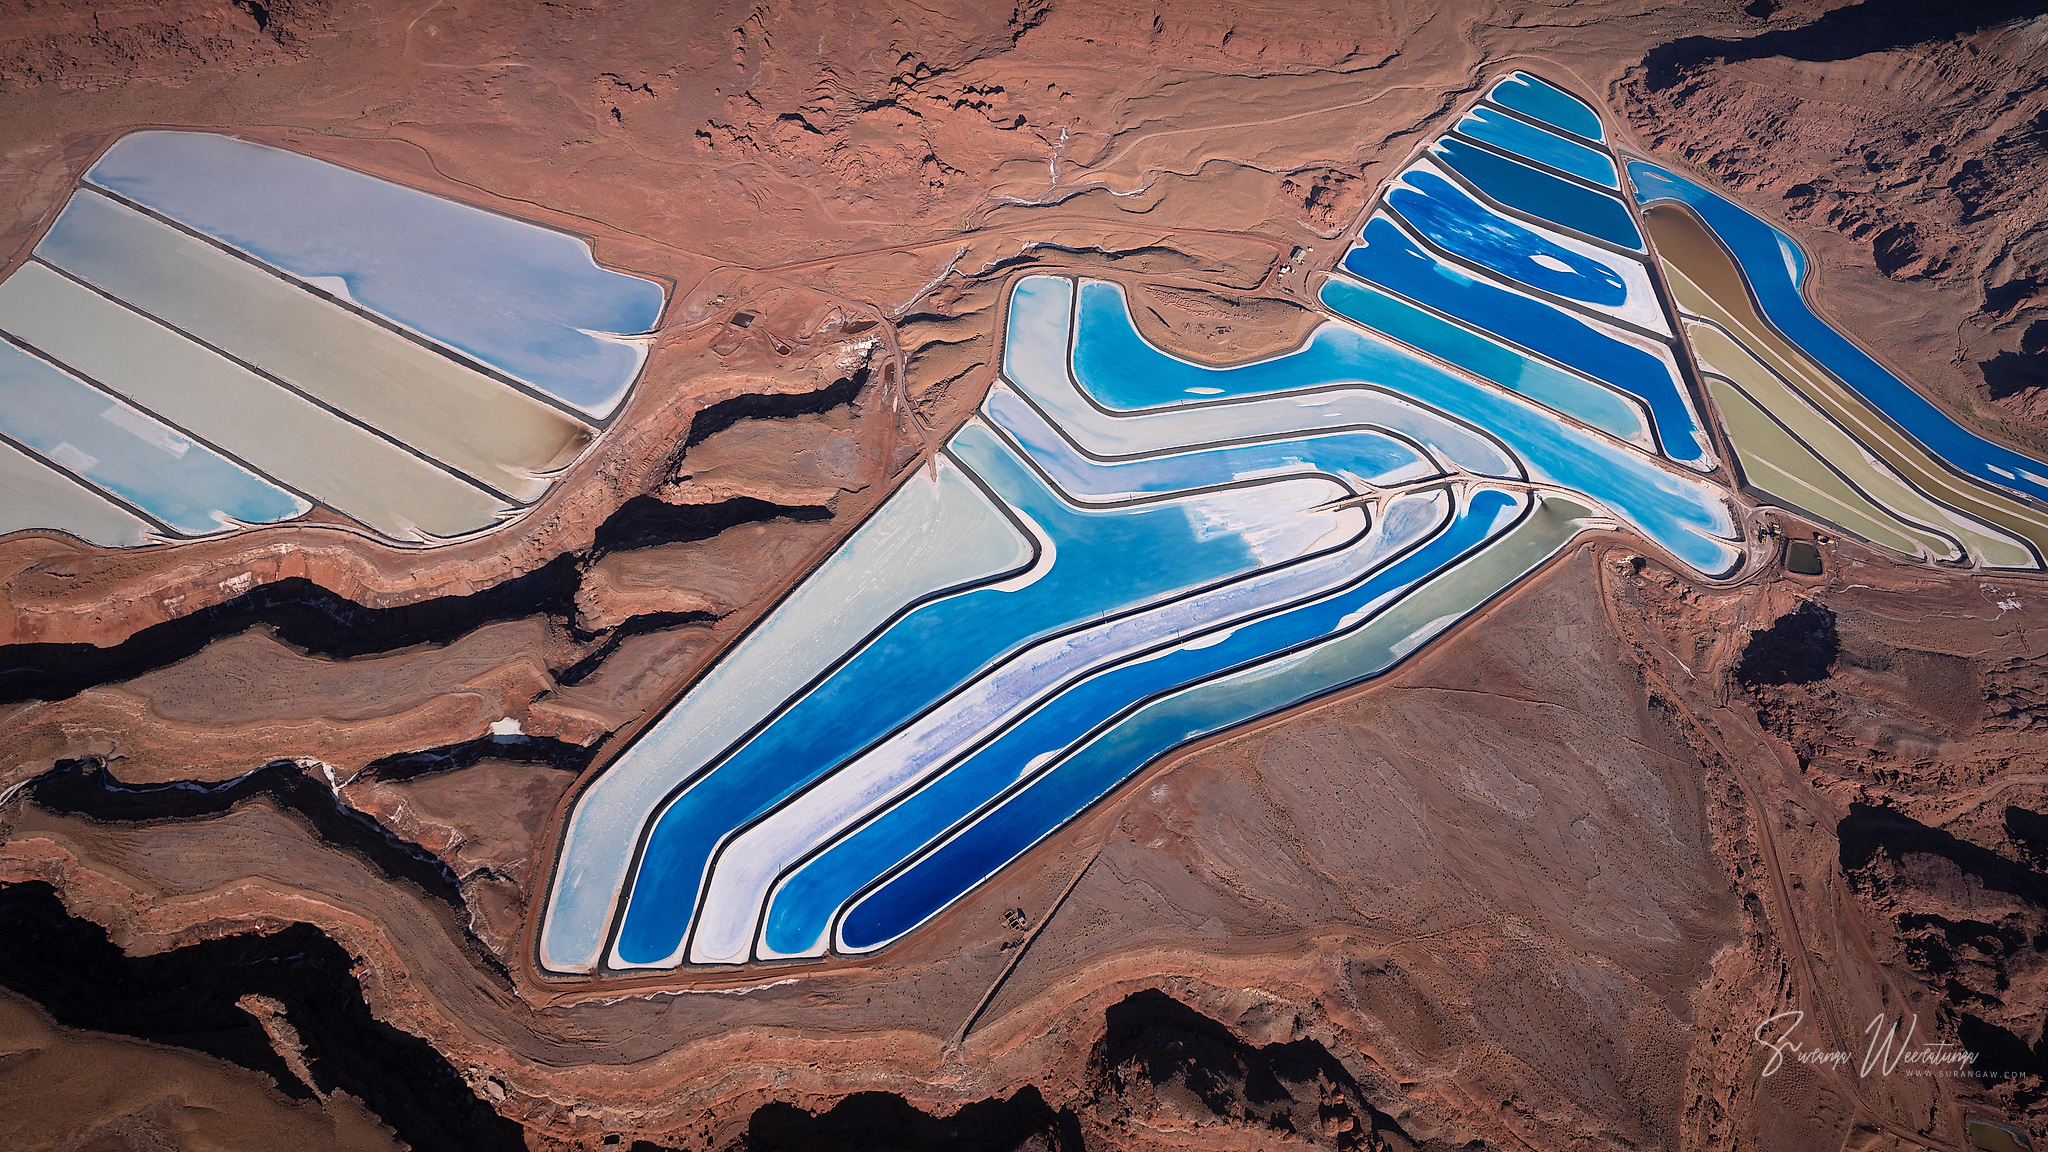
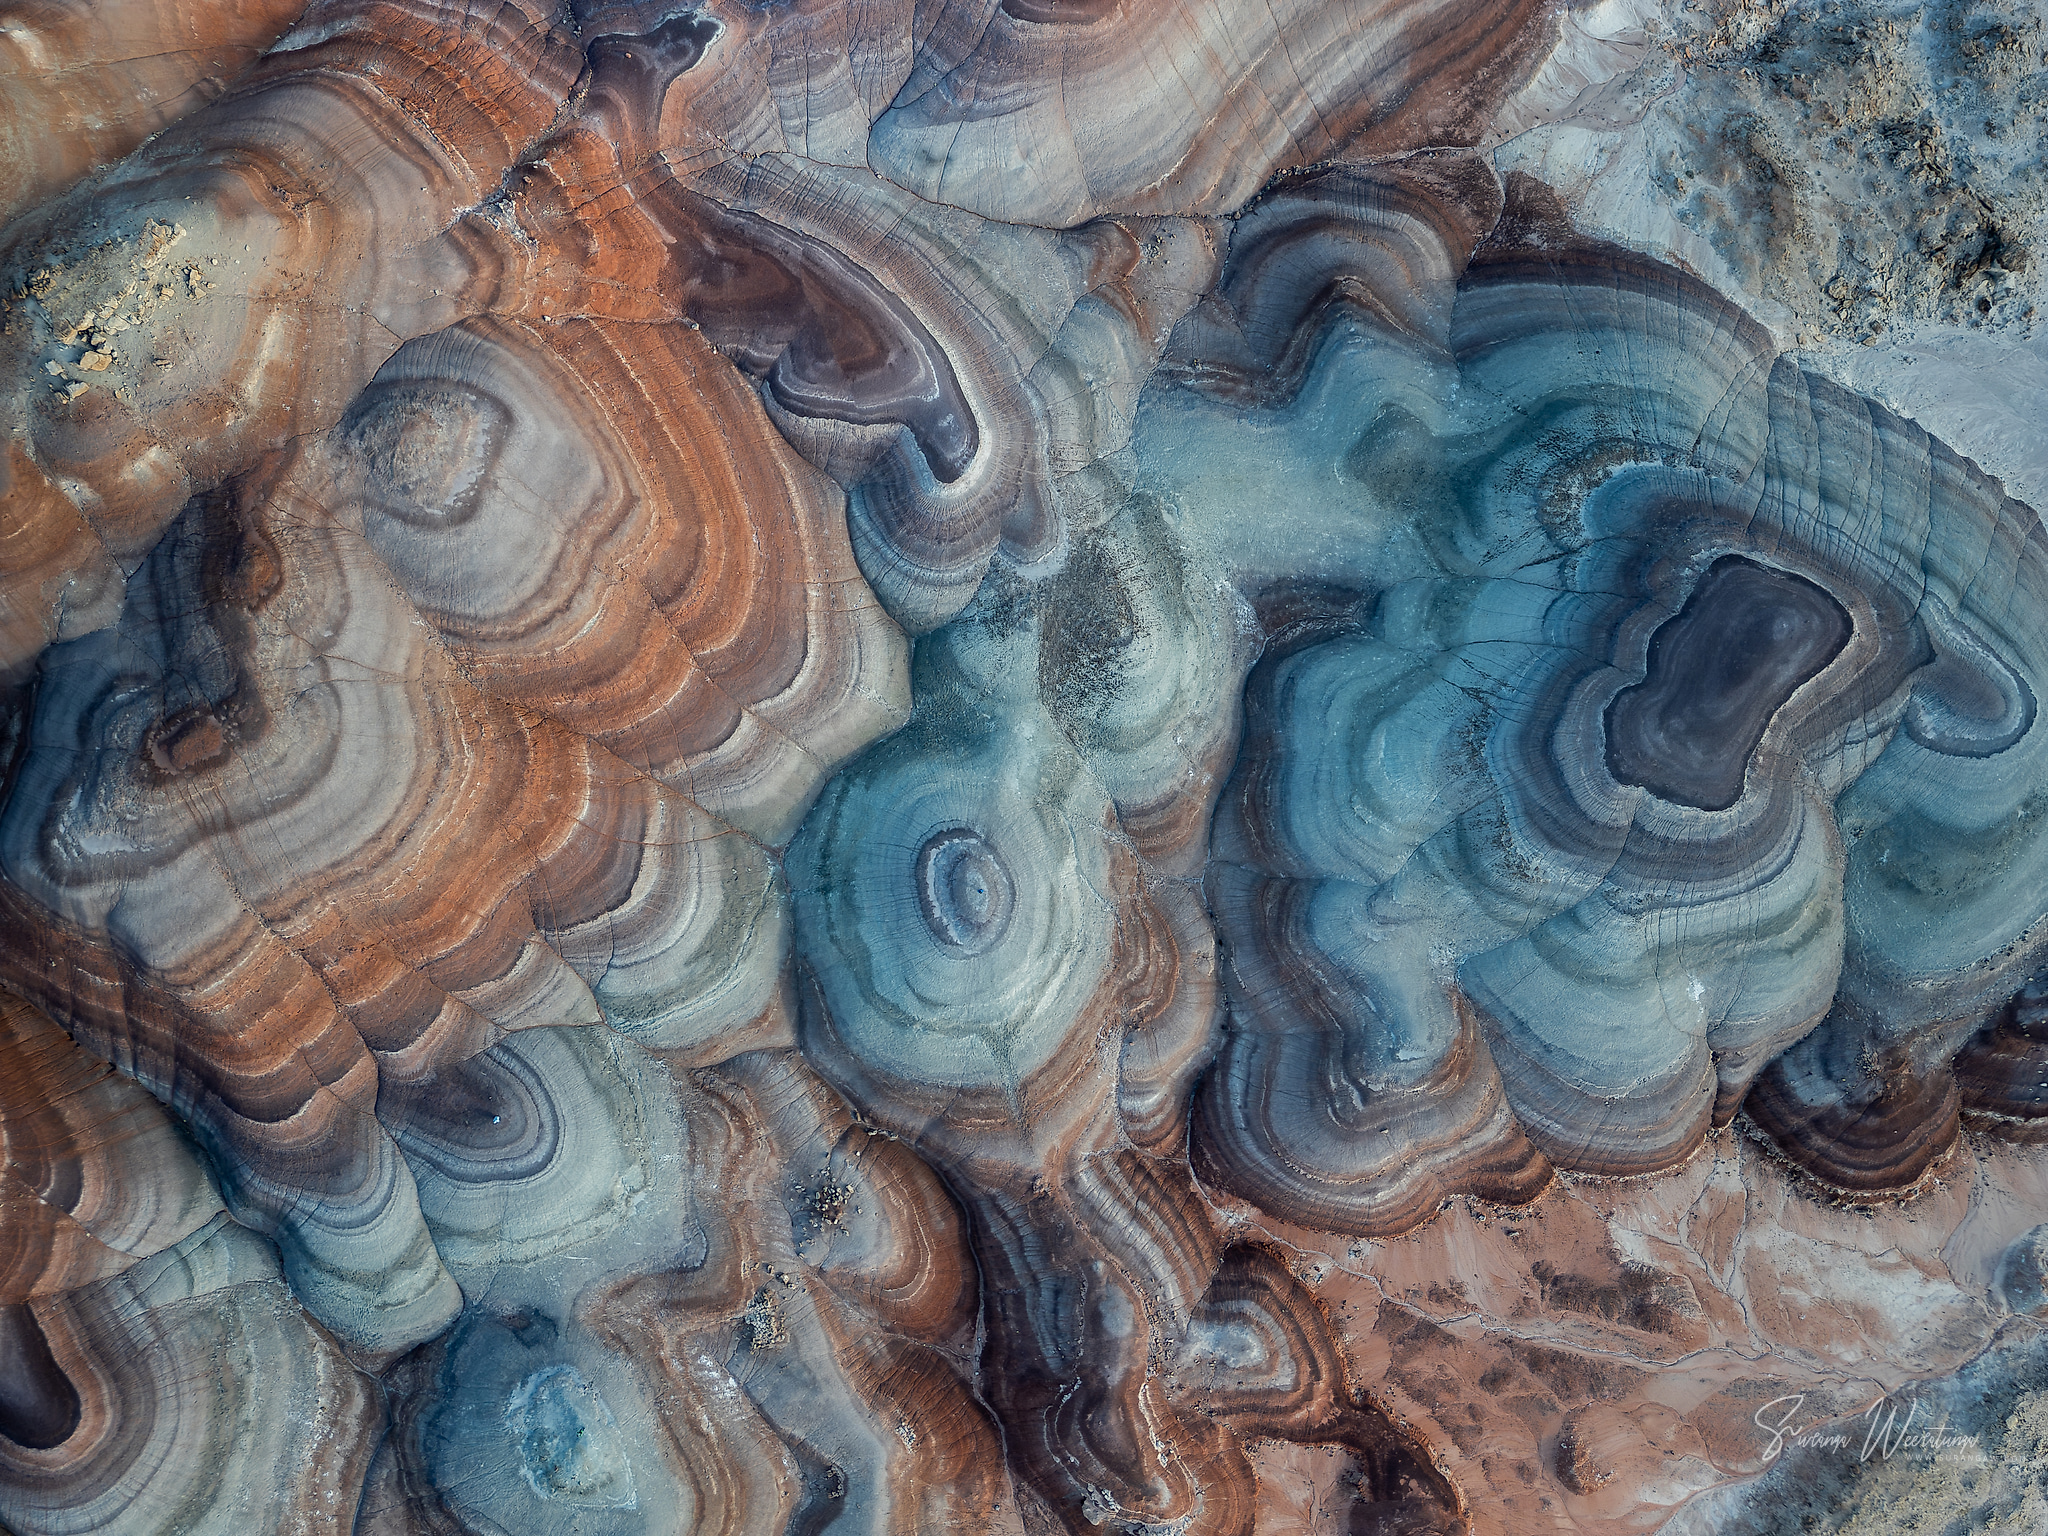
From above, the best photos are often abstract. Look for strong lines, repeating shapes and contrasting colours: a river cutting through black sand, salt ponds in a red desert, or the rings of colour in clay hills.
Soft, low light brings out texture, while midday light shows the brightest colours in water and minerals.
Plan the flight
Talk to your pilot before take-off. Show them the places you want to photograph on a map and agree on how you’ll communicate in the air. Fly early or late in the day if you can, and keep a spare battery and memory card in your pocket, not in your bag.